
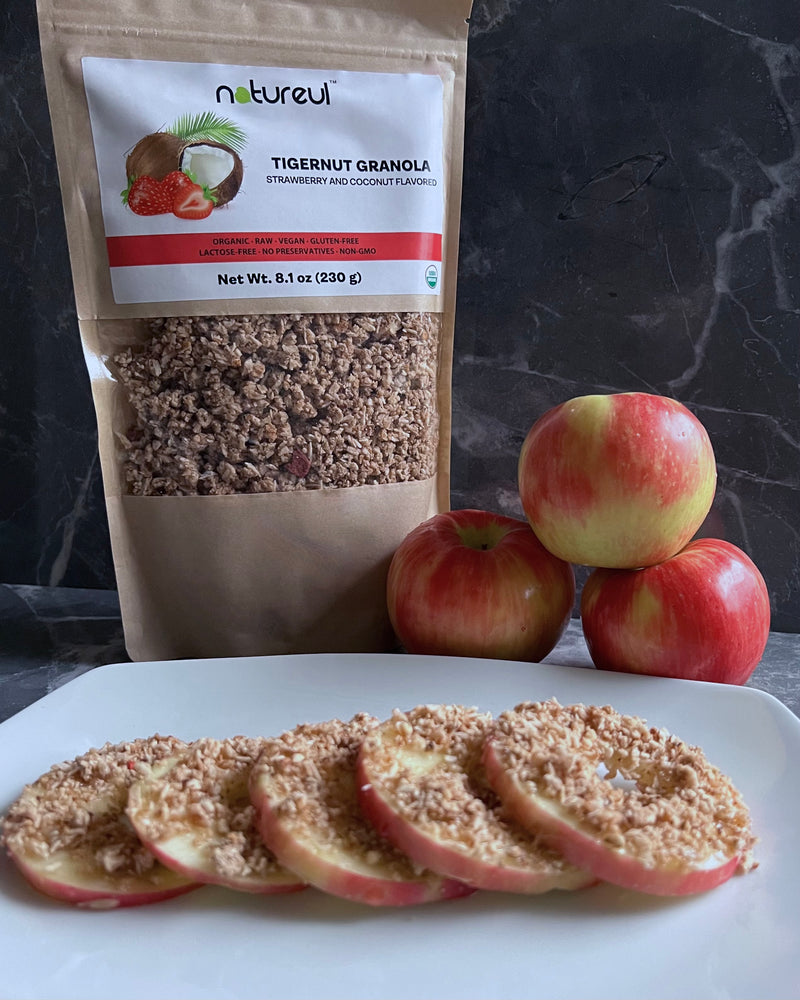
How to make Tigernut Granola Apple Bites (Easy Recipe)
If you want an easy snack with minimal ingredients and prep that still satisfies your sweet tooth, look no further–these Tigernut Granola Apple Bites fit the bill perfectly.
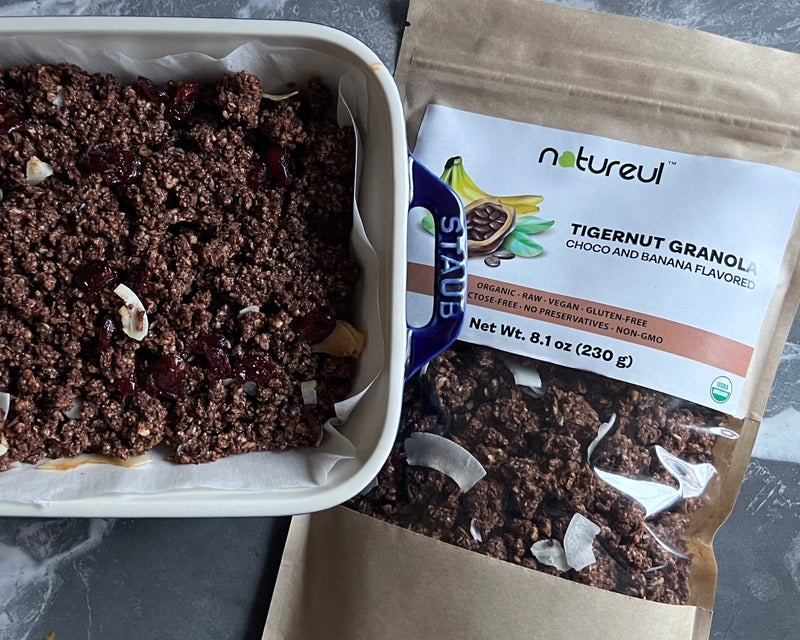
They’re simply delicious–the crispness of the apple pairs incredibly well with the crunch of the granola, and the natural sweetness of the honey takes it to the next level. This healthy snack is ready in less than five minutes and made only with natural ingredients! Natureul’s Tigernut Granola is the not-so-secret ingredient that ties everything together–made with all plant-based, organic ingredients, it’s a key element to any successful snack.
Prep time: 5 minutes
Total time: 5 minutes
Serves 1
Ingredients
- 1 Honeycrisp, Fuji, or Pink Lady apple
- 1 lemon
- 1 ounce raw honey
- ½ cup Natureul Tigernut Granola
- Optional: flaky salt
Instructions
- Using a sharp knife and a cutting board, carefully cut the apple crosswise into 1/8th inch slices.
- Slice the lemon in half and express the juices into a small bowl or measuring cup.
- Brush both sides of the apple slices with lemon juice to prevent browning. You want to make sure you completely and evenly coat each side.
- Use a ½ teaspoon measuring spoon or a similar sized cutting ring to remove the seeds and core from all the slices.
- Drizzle one side of each round apple slice with a small amount of honey, dividing the honey evenly between the slices.
- Press the honey-coated side of the apple into a dish of tigernut granola so the granola sticks to the apple slice.
- Optional: drizzle the granola-covered slices with more honey and sprinkle with flaky salt.
How to Store These Tigernut Granola Apple Bites
These are best eaten fresh, but can be refrigerated in a single layer in an airtight container for up to 3 days. You can also freeze them for up to 3 months by freezing them uncovered on a parchment-lined baking sheet for an hour and then transferring them to an airtight container.
Tips for Making Tigernut Granola Apple Bites
Granola not sticking? You can pre-mix the granola with the honey to make it easier to spread on the apple rounds. If you’re not a fan of honey, you can also use caramel or chocolate (or both!) as a drizzle instead.
Making them for a crowd? Batch-prep the apple bites! Create stations for each step: one for slicing, one for brushing with lemon, one for drizzling and one for dunking in granola. Work assembly-line style by yourself or with friends to turn out a lot of tigernut granola apple bites at one time!
Freeze the apple bites for a sweet icy treat with more crunch–it’s excellent for hot summer days. Just follow the freezing instructions above.
Double up the tigernut flavor by adding a drizzle of Natureul Tigernut Spread in your favorite flavor on top of the granola. You can have tons of fun trying different flavor combinations!